How to make Simple Syrup and Homemade Flavoured Syrups
In this post ...
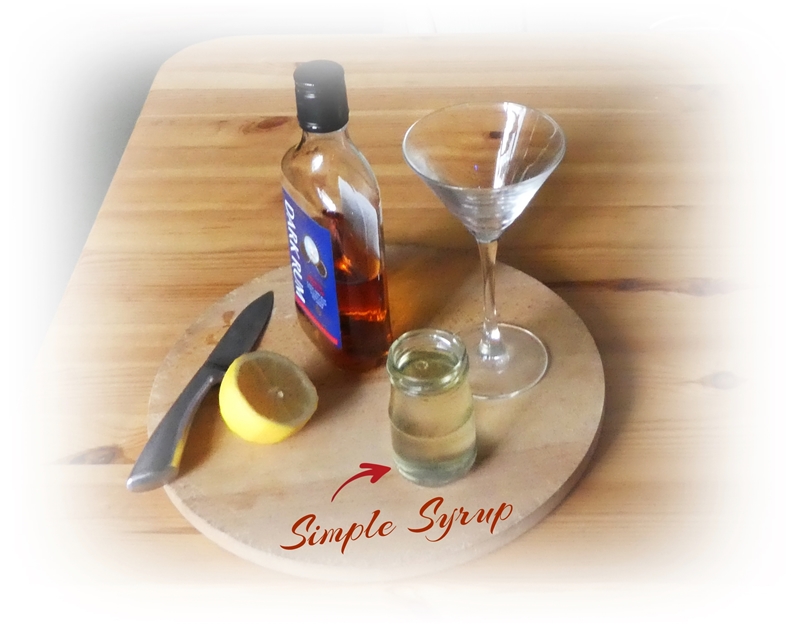
Simple syrup is the basis of many cocktails and also used in many other ways etc. – see below for lots of ideas. It stands to reason that sometimes flavoured syrups can be an even better alternative to the plain syrup.
Before we get into the details here are things you should know and precautions you should take when making syrup.
~ Use a small-ish but deep pan as it may very well boil up, especially when making caramel
based syrups.
~ Try not to splash yourself; this stuff is Very Hot, don’t be tempted to stick your finger or any
other part of your body or anyone else’s into it and always stir with a wooden spoon as a
metal one will get uncomfortable to hold, don’t lick the spoon until the syrup has cooled
down.
~ Let the syrup cool in the pan for a little while.
~ If you are leaving in or adding any solid matter (herbs, spices etc.) make sure these are
completely and utterly under the surface of the syrup at all times when storing or they will
go mouldy and ruin the whole batch.
Store in the fridge, obviously syrups are much thicker when cold and might need a little relaxation time at room temperature or even a gentle warming. They may even crystallise but no worries – just stand it in warm water for a few minutes.
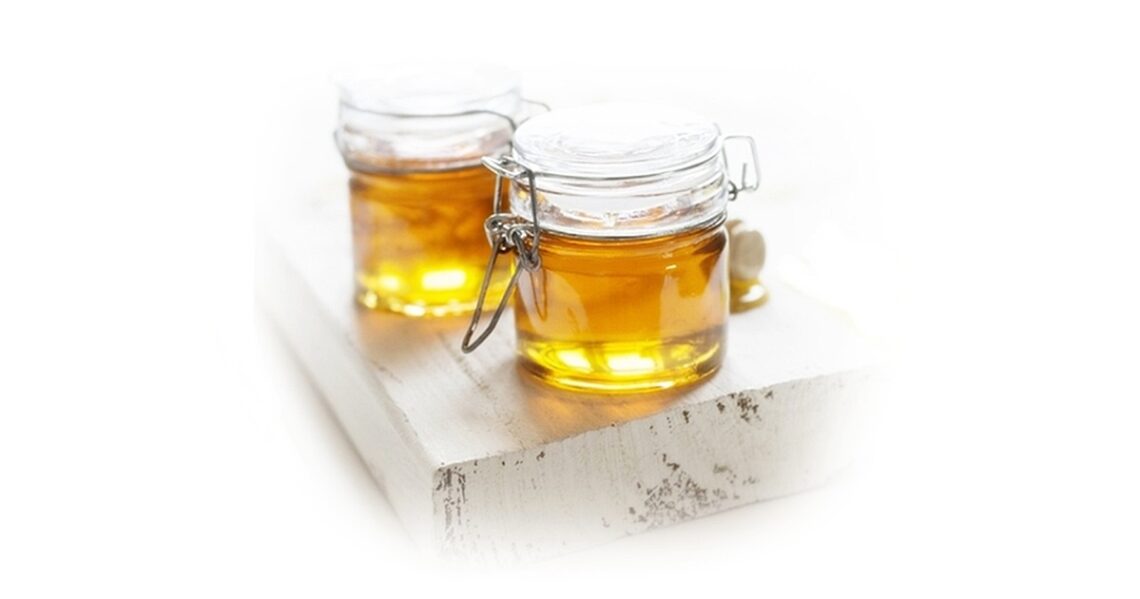
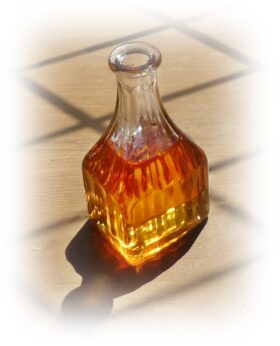
Simple Syrup
Some simple syrup recipes use equal parts sugar and water, particularly for cocktails, but in my experience many bartenders in the UK prefer this sweeter syrup and as it is also useful in other non-cocktail ways this is the one I am using. In the US I believe this is referred toas rich syrup.
Basically you need twice as much weight of sugar as volume of water, eg. …
250g sugar
125ml water
~ Bring the water to a boil in a small pan, add the sugar and stir over medium low heat till the
sugar has dissolved. I have read and been frequently told that you should brush down the
insides of the pan with a damp pastry brush to remove sugar crystals as not doing so will
lead to grainy syrup. I have never found this to be true but maybe I’m just a freak of nature
so – your choice!
~ When the liquid is clear reduce the heat to low, cover, and cook five minutes more. During
this stage of the proceedings, do not stir but do pay attention.
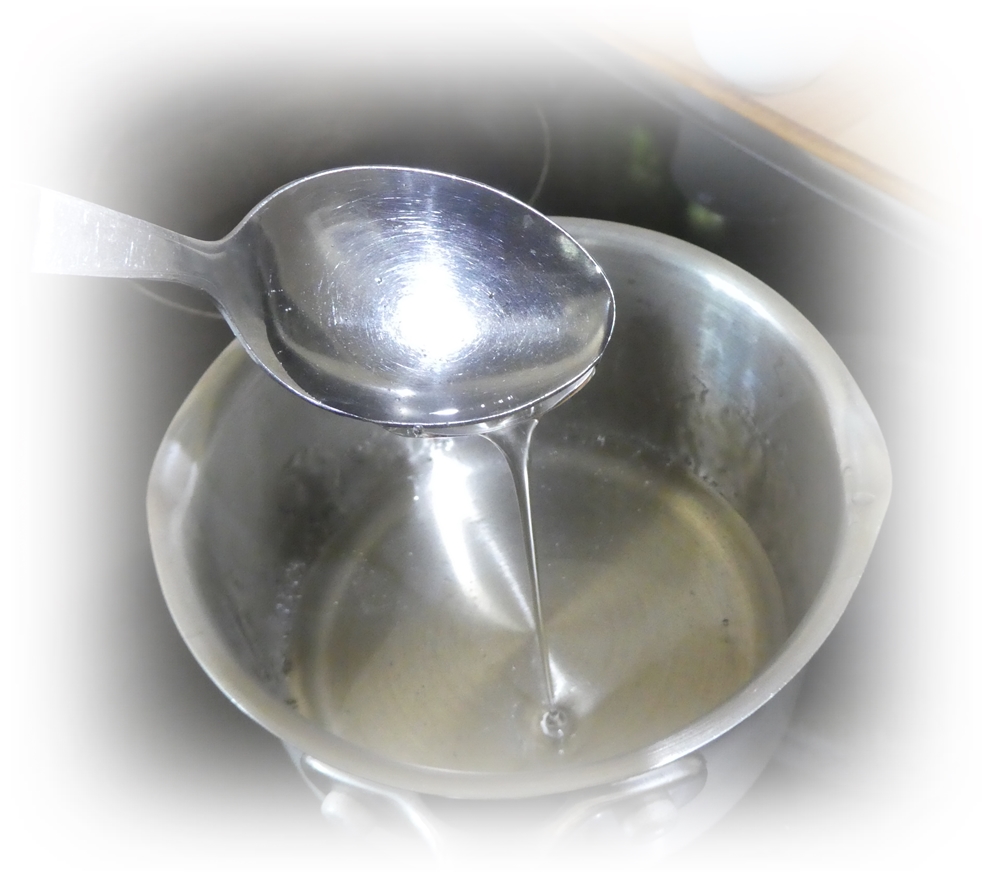
~ The syrup is ready when it forms a thread if you drip a little off the spoon. If you have a
sugar thermometer you are aiming for 223˚-235˚F which is 106˚-112˚C. I usually stop
cooking at the lower temperature so that the syrup is still a bit runny when chilled.
~ When cool enough decant into a scrupulously clean glass container and store in the fridge.
Different Sugars
The sugar you use doesn’t have to be white granulated or caster sugar, brown sugar works too, soft light brown sugar is my favourite as it has a delightful butterscotch taste although this isn’t so versatile and it does colour the syrup. See here for a great idea for adding butter to brown sugar syrup.
Storing Syrups
Simple syrups made with equal parts of sugar and water should be fine in the fridge for a month and the syrup I am recommending here with 2 parts of sugar to one part water should be OK for 6 months. If either of these syrups go cloudy throw them away, they have gone mouldy. When making syrups with anything in them (herbs, zest etc.) make absolutely sure that the addition is always completely below the surface of the syrup or it will go mouldy. See here for more erudite information on simple syrups.
Flavoured Syrups
Before we start here is a delicious hand hint. The easiest and most pleasurable way to clean the pan after you have poured out your flavoured syrup is to add some water to the pan, bring to a boil, stirring with the wooden spoon to dissolve any residual syrup and to clean the spoon. Then make yourself a cup of coffee with the resulting flavoured water.
Vanilla Syrup
~ Use a small sharp knife to slit a nice pliable
vanilla pod lengthways.
~ Use the tip of the knife to scrape the tiny
black seeds from the pod into the just
melted sugar and water. Also add the pods
and continue to simmer as above.
~ When finished you can either leave the
vanilla pods in for a stronger taste or take
them out, rinse and dry them. Do Not
Throw It Away – rinse, and dangle
somewhere airy till completely dry then store
in a container of sugar to make vanilla sugar
if you are that sort of a person or in a bottle
of rum or brandy if you are that sort of
person.
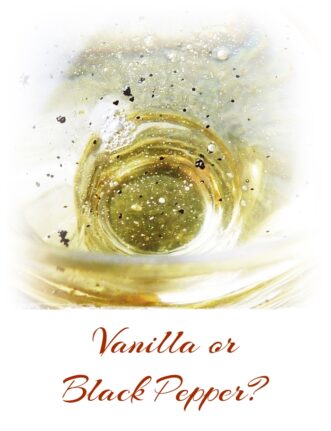
Black Pepper Syrup
This looks a little bit like the vanilla syrup but the black dots are bigger – label carefully. It is very good with strawberries
~ When the sugar has melted into the water
add two tablespoons of coarsely ground
black pepper – freshly ground if you can
manage it and simmer as above.
~ Cool then strain the syrup and stir a little of
the pepper back in to taste and to look
speckled, but not too much – I think you
want the pepper heat and flavour to be
background-ish.
~ Chill till needed.
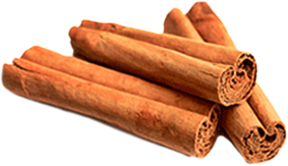
Cinnamon Syrup
When the sugar has melted add 2 broken cinnamon sticks and simmer for 8 minutes to allow the flavour to take hold. Cool and chill as usual. Leave the cinnamon sticks in for a stronger flavour or take them out if you are happy with the syrup as it is. This is particularly good if you use soft light brown sugar.
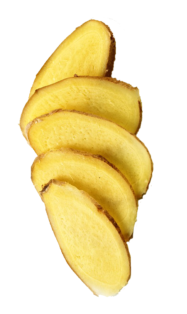
Ginger Syrup
No need to peel the ginger here unless the skin is manky. If you do want to peel it, however, be my guest – I find it easiest using the sharp edge of a teaspoon which seems to scrape easily into all the ginger’s nooks and crannies.
~ Add 25g thinly sliced fresh root ginger once the sugar has
melted and simmer for about eight minutes till syrupy.
~ The reason for the longer simmer is because you then stir
in the juice of 1 lime which will, of course, dilute the syrup
slightly.
~ Cool then strain or for a stronger taste leave the ginger in
the syrup making sure that it is completely submerged at
all times or it may go mouldy.
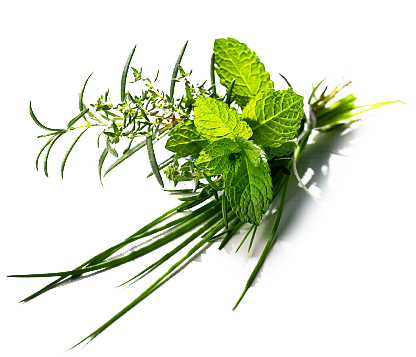
Herb Infused Syrups
You need fresh, clean herbs, obviously, – a handful of mint, a few sprigs of basil, 4 or 5 sprigs of rosemary or thyme, 6 or so bay leaves – it’s best to use just one herb per batch of syrup for a pure flavour.
~ Add the herbs to the pan when the sugar
has melted into the water, simmer together
for 5 mintes.
~ Cool and strain.
Lemon, Orange or Lime Syrup
Add the zest and juice of ½ a lemon or lime or a little less of an orange. Continue as usual!
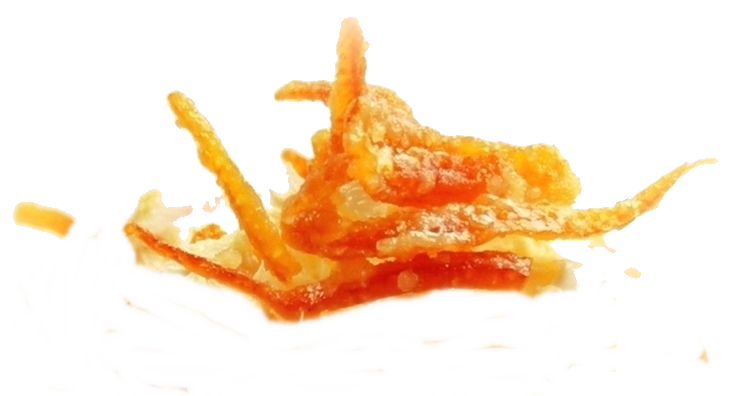
See below, however, for a great way to make crystallized orange zest which also yields a great orange syrup.

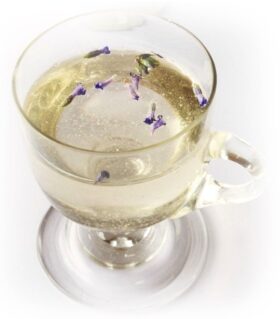
Lavender Syrup
As above using either 4 teaspoons of clean fresh lavender flowers or 2 teaspoons of dried lavender.
You could add a few fresh lavender flowers to the syrup for prettiness and as an aide memoire in case your label falls off.
The following recipes are similar to the above, but the
syrup is caramelised
Caramel Syrup
250g sugar
125ml water
60ml more water
optional salt
~ Set the 60ml water beside the stove within easy
reach.
~ Heat together the sugar and the 125ml water
over medium heat, stirring it often, until sugar is
dissolved.
~ Don’t stir any more but boil gently until it begins
turning colour. At this stage you can carefully
swirl the syrup about in the bottom of the pan to
even out the colour.
~ Cook to a deep golden brown watching carefully
and swirling occasionally.
~ As soon as it reaches golden brown, all at once yet carefully (it will boil rapidly) add the
60ml water you have placed beside the stove.
~ Cook gently stirring until the caramel, which will have hardened, has melted back into the
syrup.
~ Cook alittle more, the syrup is ready when it forms a thread if you drip a little off the
spoon. You could add a little salt to make Salted Caramel Syrup – taste and add
abstemiously till it is perfect for you!
~ Cool. Decant into container and chill till needed.
Brandy/Bourbon/Whisky/Rum etc. Syrup
250g sugar
125ml water
an additional 40ml water
60ml chosen spirit
~ As above but when caramelising the syrup cook it to a lovely golden colour rather than a
deep reddish brown – a Brandy/ Bourbon/Whisky/Rum colour, if you will.
~ You will notice you are adding a little less water at the end – once the caramel has melted
into the water lift the pan and turn away from the heat. Add the spirit and stir in
thoroughly.
~ Return to the heat and cook a few minutes till the syrup has thickened slightly.
~ Cool.
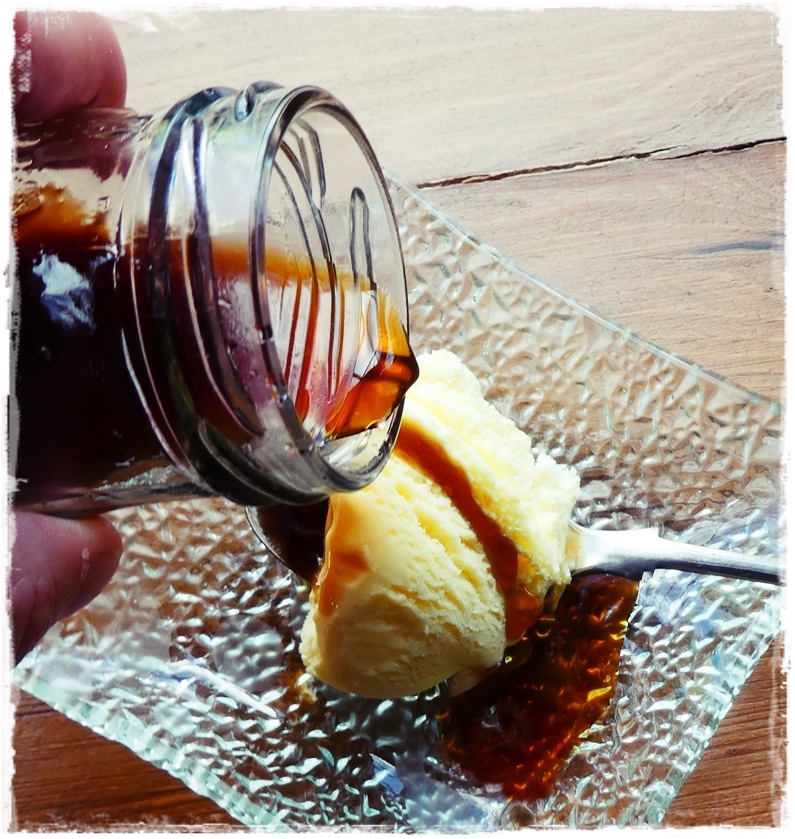
Coffee Syrup
This Caramelised Coffee Syrup is one of my favourites! In fact here is a picture of me just re-checking the recipe – again!
Some Non-Standard Syrups
These are not based on the simple syrup recipe above – they are in a world of their own.
Berry Syrup
It is easy to make a syrup with berries …
200g white sugar
250ml water
450g raspberries or strawberries (hulled and sliced) or blueberries or a mix of berries
~ Put everything into a saucepan, stir together and bring gently to a boil over medium heat.
~ Simmer for about 10 minutes till the fruit breaks down, stirring a little now and then.
~ Strain and reserve the fruit for something else (serve on top of yogurt, ice cream, porridge,
etc.).
~ Return the juices to the pan and simmer for 5 to 10 minutes to thicken slightly.
Chilli Syrup with Crystallised Chillies
See here for lovely Crystallised Chillies and their ensuing syrup.
Crystallised Orange Zest and Syrup
Here is how to make crystallised orange zest which also makes a lovely syrup.
Mulled Wine Syrup
This is the best way ever to make mulled wine.
Ways to use Syrups
~ Make a cocktail – there are so many to choose from I’m not going to go into details, I’m
sure you’ll be able to find plenty!
~ Top up with soda or Champagne for a great fizzy drink.
~ Drizzle on pancakes, French toast, ice cream, cakes, yogurt, whatever you fancy.
~ Stir into porridge.
~ Add to coffee or hot chocolate – you can, of course, buy flavoured syrups to add to your
coffee but homemade are even better. The best ones for coffee would be Vanilla,
Cinnamon, Caramel, Brandy/Bourbon/Whisky/Rum. Chilli or Ginger syrup are good in hot
chocolate.
~ Plain simple syrup can be used to greatly improve desiccated coconut.
~ Add a little appropriate sryup to fruit salads – chilli syrup in a tropical fruit salad is a perfect
example!
~ Brush syrup onto cake to keep it moist – the alcoholic syrups above are perfect for this!
~ Homemade ice cream can really benefit from the addition of an apropriately flavoured
syrup and as I know a superbly easy way to make rich, creamy, dairy no-churn ice cream I
have written a book about it; Luscious Ice Cream without an Ice Cream.
~ Sorbets and Granitas are actually based on simple syrup and its variations so I’ve written a
companion book to the above – Sorbets and Granitas!
Oh, and I’ve just thought – see here for how to make Port Syrup!
Suzy Bowler
Having been a somewhat itinerant chef for over 30 years I was amazed, on my return to the UK, at the blatant food waste that now seems to be rife in the country; amazed and irritated. So much so that I decided to start a blog about spontaneous cooking from leftovers to show people that there are great alternatives to throwing food away.

